Install OsCommerce on XAMPP localhost in 4 simple steps
Developing a website on osCommerce is not a very difficult job. Configuring and testing it on the other hand is. Since osCommerce is mainly used for creating ecommerce websites, a thorough testing before launch is much advisable. Any mistake or any loophole may even allow malicious users to exploit the site and may cause lots of monetary loss. Thus it is advised to first install osCommerce on Localhost server, test it thoroughly, and then make it live on the domain.
About OsCommerce
Powering more that 85000 live websites, osCommerce is one of the most used dedicated e-commerce content management system available on the internet. It is open source, robust, and secure, making it a great option to instantly start an online store. In addition since it is open source, it enjoys a huge community support and thus a lot of additional resources are available on the internet that will help you to install, configure, run, upgrade and add functionalities to your e-commerce website.

Installing on XAMPP localhost
XAMPP, being an open source and secure localhost server, is used heavily by experienced web-developers and new programmers alike. It is a great platform to test your osCommerce website and hammering out any kinks in the code and design, before making it live on the internet. Installing osCommerce on localhost is not that difficult a process and involves only 4 steps.
Step 1: Download, Install, and Start XAMPP

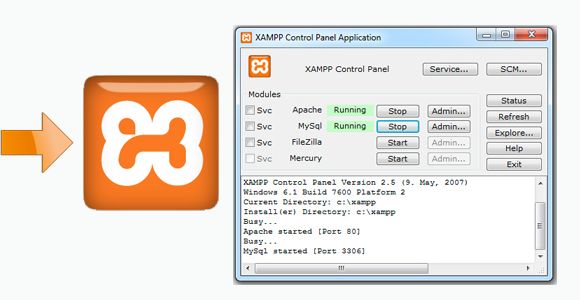
As said earlier XAMPP is open source and can thus be downloaded for free from the Apachefirends website. The software is very light weight and installing it on the computer is not a complicated process and doesn’t take more than minute even in a relatively old machine. No open the XAMPP folder where you have installed the software and open xampp-control.exe. Start Apache and MySQL modules from the control box.
Your computer is not a local Apache and MySQL server. You can check whether the server is working properly or not by visiting http://localhost.
Step 2: Download and Extract osCommerce

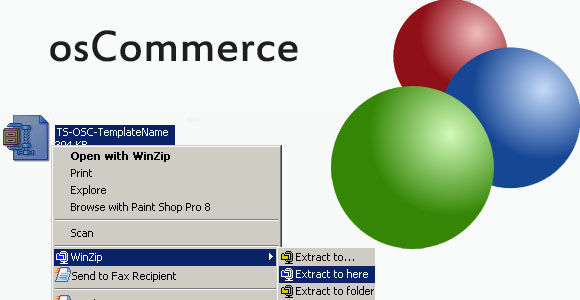
osCommerce can be downloaded from its official site. The content management system (CMS) comes in zip file and usually has a size of about 5-6 MB depending upon version. Extract the zip file at the location …/XAMPP/htdocs/oscommerce/. Here I have created a new folder named oscommerce in XAMPP/htdocs for ease of compartmentalization but the name oscommerce is not mandatory and you can name the folder anyway as per your convenience.
So your oscommerce folder should now have a folder named catalog along with some other files and folders. This folder is the most important one for installing the CMS.
Step 3: Creating a new database and user in MySQL

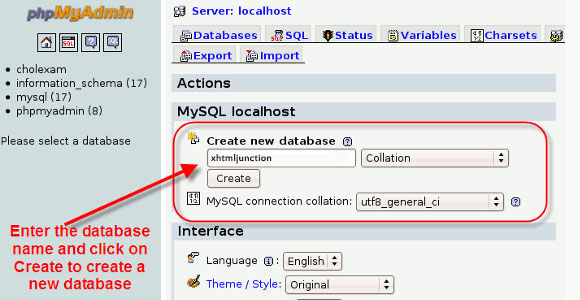
Next step is to create a new database in PhpMyAdmin MySQL on which the osCommerce Content management system would be loaded.
- First open http://localhost.
- On the left sidebar of the localhost screen you will find a link titled PhpMyAdmin. Click on it and you will reach phpMyAdmin homepage.
- Now in the home screen, right under the Action column you will find form to create a new database. Fill the database name and create a database. I named the database oscommerce, but again the name is not important and you can name it anything you like.
- Now in the left bar you will now find a database named oscommerce. Open it and then click on privilege tag.
- This will open a list of users of MySQL. At the end of the screen there is an option named Add a new user. Click on it.
- For the purpose of the tutorial you may grant the user all privilidges but when making the site live, make sure to restrict the privileges as per your need.
- Its important to remember all the values and passwords you have entered till now as they will be used further on
Step 4: Install osCommerce

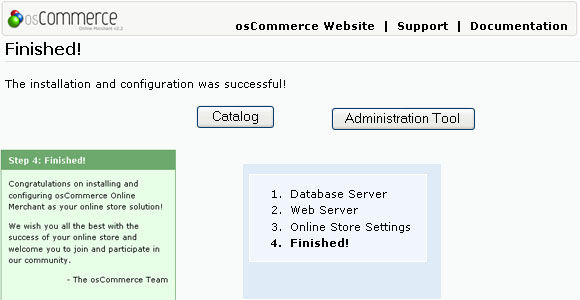
Now the next and simplest step is to install osCommerce CMS itself. Since we have extracted the oscommerce in …/htdocs/oscommerce/ visit the location http://localhost/oscommerce/catalog and it will open the oscommerce CMS installation module. If you have named the folder some other way, simply replace oscommerce with whatever name you have given. Follow the simple onscreen instructions. The installation process will as you the database and database user information. Enter the values as per the database and users you have created before.
Step 5: No step 5

Yep you are done. You can open and view the site at http://localhost/oscommerce/index.php, and monitor the shop statistics at http://localhost/oscommerce/catalog/admin/index.php.
Conclusion

Installing the osCommerce CMS is the first step of e-commerce portal creation. You have to configure it and then test it. Configuring and testing are the main and the toughest part of website creation and thus it’s better to get professional help for the process. So if you have a design in mind simply contact a professional design PSD to osCommerce conversion service.


